How to Spot Real Human Hair Bundles Before You Buy
Stop wasting money on synthetic hair that tangles, sheds, and looks fake after one wear. Here is exactly how to tell the difference.
Let us keep it real — we have all been there. You see a bundle deal that looks too good to be true, you hit checkout, and three days later it arrives looking nothing like the photos. Dry, shiny in that weird plastic way, tangles before you even get it out of the package.
The worst part? You cannot return it, and now you are out $80+ on hair you will never wear.
Knowing how to spot 100% real human hair bundles is not just a skill — it is how you protect your wallet and your look. Here are the 5 tests every girl should know before buying her next set.
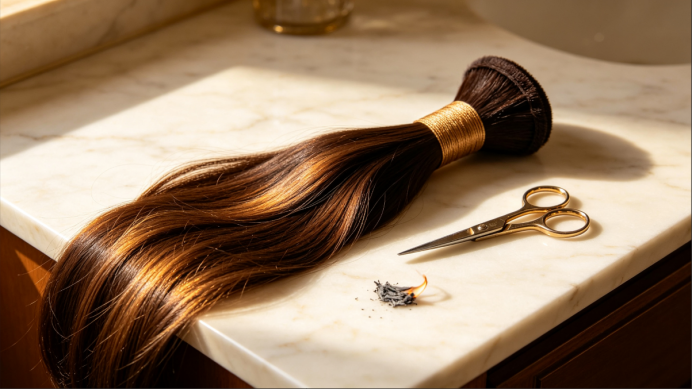
1. The Burn Test (The Most Trusted Method)
This is the oldest trick in the book, and it works every single time.
Snip a tiny strand from the weft and hold a lighter to the end.
- Real human hair:Burns slowly, smells like burning hair (you know the smell from a flatiron accident), and turns into soft ash you can crush between your fingers.
- Synthetic / mixed hair:Melts fast, smells like burning plastic, and curls into a hard little bead at the end.
Pro tip: If you are ordering online and cannot test first, look for brands that post their own burn test videos. If they are hiding it, that is your red flag.
2. The Feel Test
Run your fingers down the hair from root to tip.
- Real hair:Feels soft but has texture. It will not be unnaturally silky all the way down. The ends might feel slightly drier (just like your own natural hair).
- Fake hair:Feels weirdly smooth, almost slippery — like doll hair. It might also feel coarse or tangle immediately when you run your fingers back up.
3. The Shine Check
Hold the hair under natural light.
- Real human hair:Has a natural, soft sheen. It catches light evenly, not in that plastic-y rainbow way.
- Synthetic hair:Has that super obvious “plastic shine” — too glossy, too uniform, and it looks different under every light. You can spot it from across a room once you know what to look for.
4. The Wet Test
Spray a little water on the ends or dip them in water.
- Real hair:Gets slightly heavier, clumps naturally, and the curl pattern (if any) gets more defined. It air-dries like normal hair.
- Synthetic hair:Gets weirdly stiff, does not absorb water well, and might feel gummy when wet.
5. The Price Reality Check
If someone is selling “100% raw virgin human hair” for $30 a bundle… it is not real.
Quality human hair costs money to source, process, and ship. A good 3-bundle set with a closure will usually run you $150–$300+, depending on length. Anything drastically cheaper is either mixed with synthetic fibers or low-quality hair that will not last.
Q&A: Most Asked Questions From TikTok & Instagram
Q: Can I dye synthetic hair to match my roots?
A: No, and do not waste your time trying. Synthetic hair melts with bleach and most box dyes will not take. If you want to customize color, you need 100% human hair.
Q: How long should real human hair bundles last?
A: With proper care, 6–12 months (some girls get 18+ months out of raw hair). Synthetic bundles usually look rough after 2–4 weeks of regular wear.
Q: What does "virgin hair" actually mean?
A: It means the hair has never been chemically processed — no perms, no dyes, no relaxers. It is the highest quality and takes color best. “Remy” means the cuticles are all facing the same direction (less tangling). They are not the same thing, and both are good.
Q: Is it okay if the bundles have a slight smell when they arrive?
A: A mild chemical smell from the processing bath is normal and goes away after the first wash. A strong, fishy, or burnt smell? That is low-quality hair — send it back.
Q: Can I straighten curly human hair bundles?
A: Yes! That is the beauty of real human hair — you can heat-style it just like your own. Just use heat protectant, same as you would on your natural hair.
How to Install Your Bundles At Home (No Salon Needed)
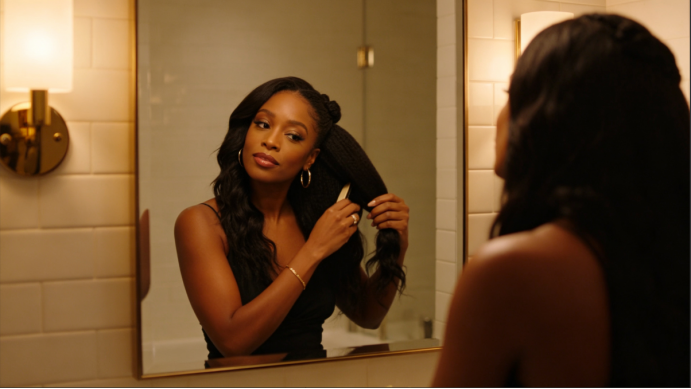
Save $200+ on your next install. This beginner-friendly sew-in method works for straight, body wave, and curly bundles.
Let us be honest — salon installs hit different… until you see the bill. $250, $300, sometimes $400+ just to get your bundles sewn in? For a lot of us, that is not realistic every 6–8 weeks.
The good news? You absolutely can do a clean, natural-looking sew-in at home. All you need is the right tools, a little patience, and this step-by-step guide.
What You Will Need
- 3–4 bundles + closure/frontal (depending on length and fullness)
- Weaving thread (match your hair color)
- Curved weaving needle
- Hair clips (sectioning clips are a game changer)
- Rat-tail comb for clean parts
- Scissors
- A mirror setup (hand mirror + wall mirror so you can see the back)
- Optional: Got2b Glued or hair gel for laying the closure
Step 1: Braid Your Base
Start with clean, detangled hair.
- Part your hair into your preferred leave-out pattern (or a full braid-down if you are using a closure).
- Braid your hair flat to your scalp in horizontal cornrows. The braids should be neat but not so tight they give you a headache.
- For the back, braid straight down and tuck the ends under.
Pro tip: The flatter your braids, the flatter your install will be. Lumpy braids = lumpy hair. No one wants that.
Step 2: Measure & Cut Your Wefts
Take your first bundle and hold it against the lowest braid at the nape of your neck.
- Measure to fit the width of your head, then cut the weft.
- Work your way up, row by row, cutting each weft slightly shorter as you go (your head gets narrower toward the top).
Do not cut through the actual weft stitching — cut between the wefts to avoid shedding.
Step 3: Start Sewing
Thread your curved needle and double-knot the end.
- Start at the lowest braid (nape area).
- Sew the weft onto the braid using an under-and-over stitch. Go through the braid, then over the weft, pull tight.
- Keep your stitches close together (about ¼ inch apart) for security.
- When you reach the end of the weft, double-knot it before moving up to the next row.
Work your way up from the bottom to the top, row by row.
Step 4: Install Your Closure / Frontal
Once you get to the top rows, it is closure time.
- Place your closure where you want your part to be.
- Sew around the perimeter first — front, sides, then back.
- Use smaller stitches along the hairline so they are invisible.
- Optioal: For a melt-worthy hairline, use a little Got2b on the lace edge and blow-dry on cool.
Step 5: Blend & Style
- Cut any excess lace if you have not already.
- Pluck the hairline of your closure for a more natural look (do not over-pluck — less is more).
- Flat iron the leave-out (if you have any) together with the bundles to blend.
- Lay your edges, add your favorite serum, and you are done.
Beginner Mistakes to Avoid
❌ Sewing too tight: You will get headaches and traction alopecia is not worth it. Firm, not painful.
❌ Using the wrong needle: Straight needles are harder to work with on braids. Curved weaving needles only.
❌ Skipping the double knot at the end: Your weft will start slipping within a week. Knot twice.
❌ Overstuffing with bundles: More is not always better. Too much hair at the top looks bulky and unnatural.
Q&A: Most Asked Questions From TikTok & Instagram
Q: How long does a sew-in usually last?
A: 6–8 weeks with proper care. After that, your natural hair grows out enough that the install starts shifting and you risk matting at the roots.
Q: Can I wash my hair while it is sewn in?
A: Yes, absolutely! Focus on the scalp and be gentle. Use a diluted shampoo and do not scrub roughly. Always air-dry or use low heat.
Q: How many bundles do I actually need?
A: For lengths 10–18″: 3 bundles is usually enough. 20–26″: 3–4 bundles. 28″+: 4 bundles minimum. Add a closure or frontal on top of that number.
Q: Is a closure better than leave-out?
A: Closures give you the most natural part and protect all your natural hair underneath. Leave-out is cheaper but requires more blending and heat styling your own hair. For protective styling, closures win.
Q: How do I prevent my closure from lifting?
A: Sew it down securely around the whole perimeter, and avoid heavy oils near the hairline. If you use gel or got2b, reapply every 1–2 weeks as needed.
How to Wash & Bring Your Bundles Back to Life
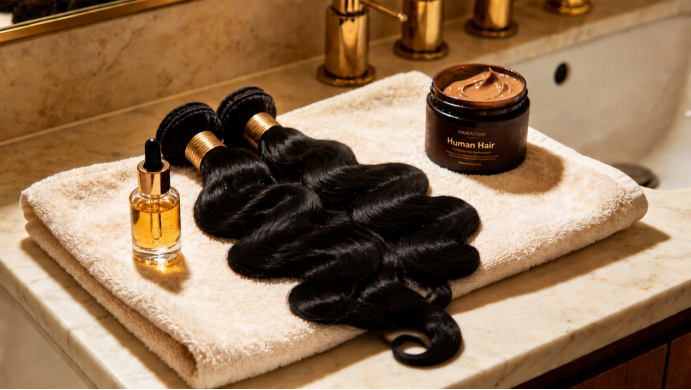
Your bundles do not have to look dry and tangled after a month. Follow this routine and they will feel silky for months.
We have all had that moment. You look in the mirror two weeks after install and think… when did my hair get so dry? The ends are frizzy, the curls are falling flat, and it is tangling way more than it should.
The truth is, your bundles do not have natural scalp oils to keep them moisturized. If you are not washing and conditioning them the right way, they will dry out fast.
This is the exact wash routine that keeps bundles looking fresh and silky for 6+ months.
Before You Start: Prep
If your bundles are still installed, you can wash them in — just be extra gentle at the roots. If they are taken out, even better — you can give them a full deep treatment.
What you need:
- Sulfate-free moisturizing shampoo
- Deep conditioner or hair mask
- Wide-tooth comb
- Microfiber towel (or an old t-shirt — regular towels cause frizz)
- Argan oil or silicone-free hair serum
- Optional: Apple cider vinegar (for a clarifying rinse)
Step 1: Detangle First (Always)
Wet hair = fragile hair. Never start washing without detangling first.
- Gently comb through from the ends up to the weft.
- For curly bundles, use your fingers or a wide-tooth comb. Never yank — you will cause shedding.
Step 2: Shampoo Gently
- Rinse with lukewarm water (hot water dries out the hair cuticle).
- Dilute your shampoo with a little water first — this helps it spread evenly without you having to scrub.
- Squeeze the shampoo through the hair in a downward motion. Do not rub in circles— that causes tangling and frizz.
- Focus on the weft area and scalp (if installed) where product builds up.
- Rinse thoroughly until the water runs clear.
Pro tip: Once a month, do an ACV rinse (1 part apple cider vinegar + 3 parts water) to strip product buildup. It makes hair so much shinier.
Step 3: Deep Condition (The Most Important Step)
This is where the magic happens. Your bundles need moisture, and regular conditioner is not always enough.
- Apply a generous amount of deep conditioner from mid-length to ends.
- For installed hair: use a wide-tooth comb to distribute evenly.
- For bundles out of the head: you can even put them in a plastic bag and let them sit for 30 minutes to an hour.
- Optional hack:Put a shower cap on and sit under a hooded dryer for 15 minutes. Heat opens the cuticle and lets the conditioner penetrate deeper.
- Rinse with cool water to seal the cuticle and lock in shine.
Step 4: Dry The Right Way
- Gently squeeze out excess water. Do not wring or twist the hair.
- Blot with a microfiber towel or t-shirt. No rubbing.
- Let it air-dry 80% of the way before using any heat.
- If you are blow-drying, use the cool or warm setting— never hot. And always use a heat protectant.
Step 5: Seal In The Moisture
While the hair is still slightly damp:
- Apply a few drops of argan oil or hair serum to the ends.
- Comb through gently.
- Style as usual.
Maintenance Tips Between Washes
- Sleep with a silk bonnet or silk pillowcase.Cotton absorbs moisture and causes friction = tangles and breakage. This one habit alone will double the life of your hair.
- Avoid heavy oils and greaseat the root area — they cause buildup and make your closure lift.
- Brush gently from ends up.Never yank a comb from root to tip through tangled hair.
Limit heat styling. Curling irons and flat irons dry hair out over time. Air-dry when you can.
Q&A: Most Asked Questions From TikTok & Instagram
Q: How often should I wash my bundles?
A: Every 1–2 weeks, depending on how much product you use and how active you are. If you sweat a lot or use lots of hairspray, wash weekly. If you keep it simple, every two weeks is fine.
Q: Why are my bundles shedding so much?
A: A little shedding is normal (just like your own hair). Excessive shedding usually means you are combing too rough, using products with alcohol, or the wefts are low quality. Sealing your wefts before install can help too.
Q: Can I use regular drugstore shampoo?
A: Avoid anything with sulfates, parabens, or alcohol — they strip the hair and make it dry and brittle. Sulfate-free moisturizing shampoos are worth the extra few dollars.
Q: My curly bundles got frizzy after washing. What did I do wrong?
A: You probably rinsed with hot water or rubbed the hair while washing. For curls, always use cool water for the final rinse, scrunch with a curl-defining cream, and air-dry — do not touch it while it dries.
Q: How do I know when it is time to replace my bundles?
A: When they are constantly tangling at the nape, the ends feel thin and brittle no matter how much you condition them, or the wefts start falling apart. Good hair should last 6–12 months with proper care.